Friday, March 29, 2019

Beautiful Flower Card

Hello friends,

I am so ready for Spring, I am making my own flowers!

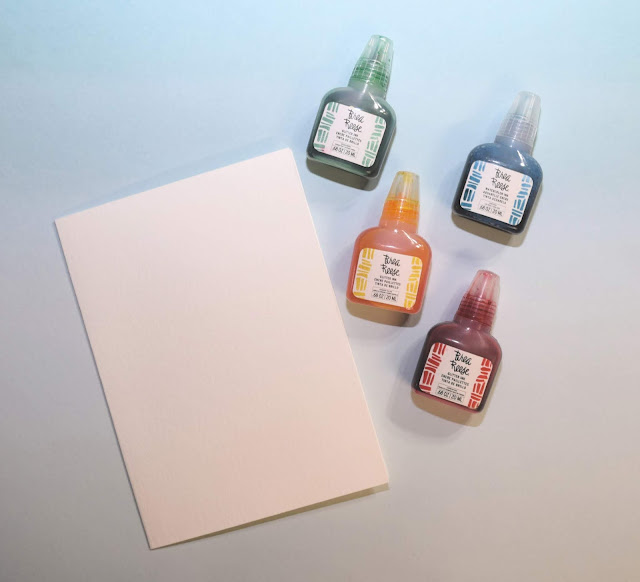
I used my Brea Reese Glitter Inks to create a beautiful card for any occasion. This is a great way
to make homemade cards in a hurry and still look beautiful.

Great NEWS! Target is now carrying Brea Reese products!


Isn't it gorgeous? I wish you could see how this glitters in the light, it is amazing!

Supplies needed:

  • Brea Reese Glitter Inks - Ocean Green-Lake Blue-Medium Magenta 
  • Watercolor paper card - Strathmore 
  • Stamp of choice - Large floral work best
  • Archival Ink Waterproof
  • Paintbrush
  • Palette
  • Water
Step 1

Gather all materials.


Step 2

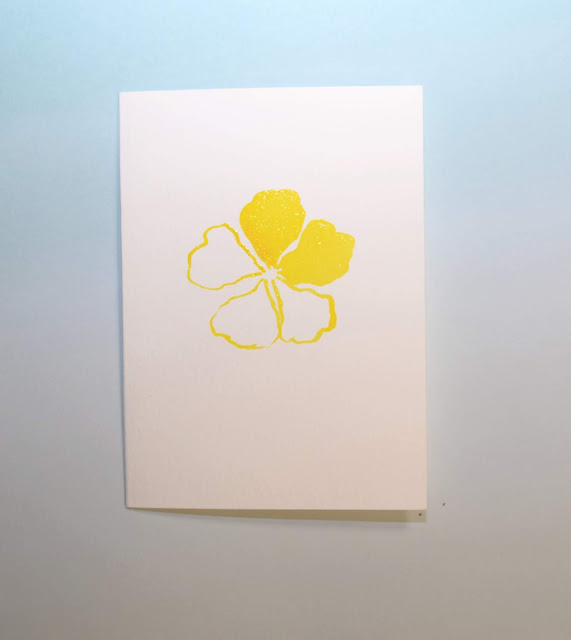
Stamp image onto paper.


Step 3

Start water coloring your image. Finish your image with a splatter of ink here and there. I used some leftover ink to splatter the envelope also.


You are done!


I hope you love it as much as I do!

Stop by Brea Reese and see what others are creating!


Thanks for stopping by!
Saturday, March 23, 2019

Swag Bag Challenge


Welcome to the AFCI Designer Section Challenge. Each designer has created a project using the same products that were given to us at Creativation. The challenge is to use the products and create something unique. We have some great companies that have sponsored this hop. Thanks so much for joining us!

As you may or may not know, I went to Creativation this year.

Creativation is the place where creative businesses g​o to learn, connect and discover.

These are the products I have decided to work with.

You may click on any of the companies below, it will take you to each site.
  • Rinea - Double Sided Foil Paper
  • Sculpey
  • DecoArt
  • Graphic 45
  • TCW Stencil


I went Halloween with my project! 

Reason?

I recieved the stencil from TCW that reminded me of spiders, then Rinea foil papers has a haunted pack of foil papers. DecoArt included a Brillant Purple. That convinced me to go Halloween!

Rinea Haunted Foiled Paper Variety PackThe Crafter's Workshop - 12 x 12 Doodling Templates - Prismatic

Sculpey Liquid Bakeable Clay - Pearl

I gathered all my supplies and started by painting the Graphic 45 Book Box Brilliant Purple. Set aside to dry.

Next using the liquid Sculpey, I filled in the mold and baked according to manufacturers directions. In 15 minutes I had these adorable lace like embellishments.


Next, I cut and embossed my Rinea foil papers and adhered them to the top of the box. I lightly brushed paint onto the largest Sculpey embellishment and adhered it to the center of my box. Added some embellishments.


I used the TCW stencil to stencil on the tag book that was included in the Graphic 45 box.


I love each and every product I received! I am thankful for the companies who shared product with the designers! It gives us the opportunity to test the products and learn more about them.

Thanks for stopping by!

Make sure to check out all the designers to see what each have done.

Friday, March 22, 2019

Mod Podge Ultra Blog Hop!

Hello Friends!!!

Today I have created a piece of home decor using the NEW MOD PODGE Ultra!


What is the new Mod Podge Ultra, you ask?

It is a.....

  • Spray on all-in-one glue & sealer
  • Multi Surface use: wood, ceramic, canvas, sculptures, fabric and more
  • Indoor/outdoor; UV protection
  • Leaves no brush strokes
  • Durable, scratch and water resistant 

So I wanted to put it to the test. I am using wood, card stock, burlap, cardboard, flowers. All different textures to see how well the Mod Podge Ultra works. I received a Matte finish, which I personally love. The do have a gloss finish also.

Supplies needed:
  • Mod Podge Ultra
  • 6" X 6" wood plaque
  • Card Stock of choice - I used 7 gypsies
  • Cardboard
  • Wood bird
  • Burlap
  • Flowers
  • Word Cutouts
  • Distress ink
  • Scissors
  • Paper trimmer
Step 1.

Gather all supplies


Step 2.

Tear off top layer of cardboard and set aside.


Step 3.

Start adhering your pieces to the wood, cardboard to the card stock, burlap to the cardboard. Adhere bird to card stock using Mod Podge Ultra. Let sit a bit so that it can be cut out.


Step 4.

Cut bird card stock as close to wood as possible. Using a file you can file the edges off. Distress ink around bird and outside edges of plaque. Adhere on flowers bird and sentiment.


Step 5. 

Spray a mist of Mod Podge Ultra over entire surface to give a seal coat if desired! Final and VERY IMPORTANT tip.......wipe sprayer off after each use! You don't want the sprayer to seal itself closed!

You are finished!


I really liked the way the Mod Podge Ultra worked. I did have a tough time with my paper adhering to the wood, the paper had a shiny surface and I believe that was the issue. I used it on regular card stock and had no problem. 

Mod Podge Ultra came in handy one afternoon when my g-daughter stopped over with a necklace she made at daycare. It was GLITTER added to a shell and it was coming off all over. I sprayed a sealer coat of Mod Podge Ultra, we left it to dry and it was good to go! No stickiness, but most important.......NO GLITTER!
Wednesday, March 20, 2019

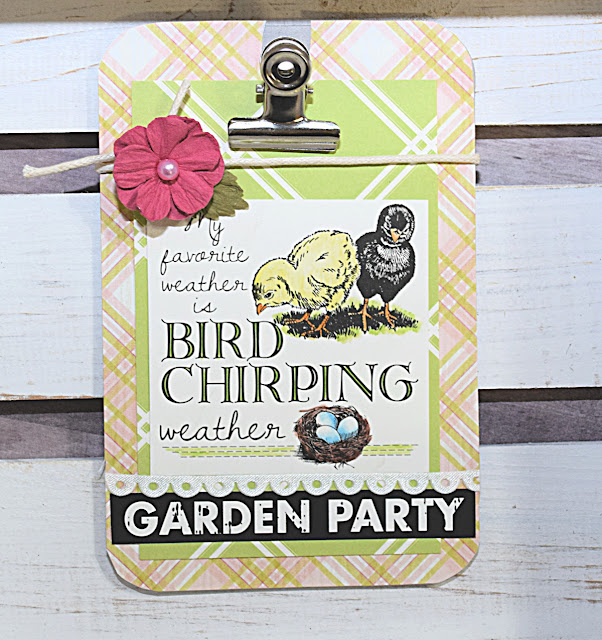
Spring Art-C Mini Clipboard

Hello Friends,

Today I have the cutest mini clipboard made by Art-C. I have taken it and turned it into a piece of Spring decor.


It's pretty quick and easy!

Ready?

Let's start!

Supplies needed:
  • Art-C Clipboard
  • Card stock of choice
  • Brea Reese Watercolor Pencils
  • Printed picture to color 
  • Misc. trims
  • Adhesive


Step 1.

Gather supplies


Step 2.

Watercolor printed picture


Step 3

Adhere layers together. Add trims and flower.


Your are done!


How cute and super fast!

Thanks for stopping by!

Please check out Art-C for other fun projects! Check them out HERE!


Thursday, March 14, 2019

Stenciled Spring Frame

Hello Friends,

Hope you all are well! I can tell you I am so done with this winter! We have had so much snow, I don't think it will melt until May! I sure hope it is sooner! That is why I deceded I needed a hope for Spring, so I bring you a Stenciled Spring Frame!

So cute and Springy! Super easy and fast!


Are you ready to get your spring decor going? Let's do this!

Supplies Needed:

You have all your supplies, Let's start!


Step 1.

Starting with Ann's Stencil Girl stencil, tape it down in place where you are going to stencil. Using your stencil brush, pick up some of the Sunshine ink and dab off on paper towel. Brush some of the ink onto stencil, blend in some Tangelo ink to get the blended ombre effect. Do this on all four sides. Heat set with heat gun.


Step 2.

Using Ann's ColorBox inks as a watercolor, paint in your sentiment.


Step 3.

Add sentiment to card stock, insert into frame and embellish.


That's it! 

Now just sitting here waiting for Spring!
Wednesday, March 13, 2019

Glitter Ink Hello Card Using Brea Reese

Hello Friends,

Today I have a pretty glitter watercolor ink card, this card was made with Brea Reese Watercolor Glitter Ink. Have you ever used it? The glitter/shimmer is amazing!

This card would be for a beginner. Not hard at all.


Supplies needed:

  • Watercolor Card Base
  • Brea Reese Glitter Inks - Cadmium Yellow*Ocean Green*Lake Blue*Cadmium Red
  • Black Pitt Pen
  • Paint Brush
  • Water Dish


Step 1.

Outline five petals - worried about doing this free hand....they are basic heart like shape if you look.


Step 2.

Mix together some Cadmium Red and Cadmium Yellow and add to tips and center.


Step 3.

Background was done by first using Ocean Green and while still wet, add some Lake Blue to your liking. Let dry. You can speed up drying process with a heat gun. Once dry you can splatter some Lake Blue over card, try not to get it on flower.


Step 4.

Add scribble lines around flower and card base. Add tiny circles in middle of flower. Add any sentiment you like.


I hope you give this a try!

Stop by Brea Reese and see all the beautiful colors they have. Click HERE!

Thanks for stopping by!
Friday, March 8, 2019

Vintage 6" X 6" ART-C Altered Canvas Chipboard

Hello friends!

I have not shown my vintage side for a while and I thought today I would bring you a
fabulous 6" X 6" altered canvas chipboard.

I am pretty excited to say I am a new Brand Ambassador for ART-C Brand and I have received some new products and have combined them with some vintage items and even some Brea Reese Watercolor Cream Sticks!


Supplies you will need:
Gather all materials needed.


Using one canvas chipboard and a brown and orange watercolor cream, random scribble on canvas and move it with water and brush.


Stamp sentiment onto tag. I crumbled and distressed my tag after stamping. Stamp each of the four corners with the corner stamp.


Decorate and embellish your canvas as you wish. vintage clothespin with lace wrapped around it. Vintage cut out, old card. I did come back with some brown and darkened some more areas.

Really fun and simple. Hang from a hanger, frame it or make a Journal cover with it. so many possibilities!

Thanks for stopping by. See you next week with a fun spring frame!