Sunday, January 6, 2019

My December Challenge with Brea Reese Products - Part 3

Oh my gosh, I forgot about these few remaining prompts from the challenge!

One of these are my all time favorite!

Prompt was polar bear on holiday


Christmas PJ's


My favorite!!!!!!! The ugly sweater!!!!


This was fun.....gingerbread


This one is another fav!

Now you have seen them all!

31 days of fun!

These were listed everyday on Instagram. Donna J Designs on Instagram

Thanks for stopping by!

My December Challenge with Brea Reese Products - Part 2


Hi, I am glad you decided to come by and see the rest of my challenges.

I will dive right into it.

This one was family tradition - White elephant gifts are a tradition that goes with the dice game.


Lettering - Challenge


Favorite recipe - Love how this turned out!
Vintage love!


Woodland Creatures - Sweetness


Winter Greens - This is so beautiful in person- The shimmer is incredible!
LOVE! I made some Christmas cards with this design!


Starry night


Hanukkah  


 Decorations- Love this one!


This is the very first one I drew for the challenge- Lost mitten - I thought it was sweet.
I hope you enjoyed my take on the challenge. I really enjoyed it!

I am pretty excited to say, they had prizes each week and I was lucky enough to have won a prize the 3rd week!

I can't wait to dig into the new products!

Thank you Brea Reese for the Challenge!
Saturday, January 5, 2019

My December Challenge with Brea Reese Products - Part One

It was a busy December!

Brea Reese was having a challenge and I had picked up some of there products and had never opened them. What better time to open each and every product that I had from them and USE them!!!
I had watercolor glitter inks, watercolor inks. watercolor duel tip markets and even some fine line markers. Heck yeah, I can do this!

What was I thinking when I decided to do a 31 day challenge in DECEMBER?

Who does that?

I tried in October and FAILED and that is my favorite month!!!!


I decided I could do this and I did! During this journey I fell in LOVE with these products! The more I used them the more I loved them. I am looking forward to using them often in many different works of art.

I want to share the journey with you! Some were hard and challenged me. I wish I had more time to spend on each of the drawings, but it is December! 

One a day! 

Just like a vitamin! LOL!

Are you ready?

This was prompt: Winter sport


Prompt: Travel


Prompt: Hot Drink


This was a fun one!
Prompt: Snowball Fight


Prompt: Christmas


This is a card I made for my granddaughter


Prompt: Advent Calendar
I really liked this one!


Challenged - Needs work


Love my trees


Prompt: Nutcracker


Prompt: Naughty Reindeer - Eating Santa's cookies!

Santa himself


Favorite holiday movie


Animal in pajamas- what better than a pig in P.J.'s
I love this one!

Mistletoe

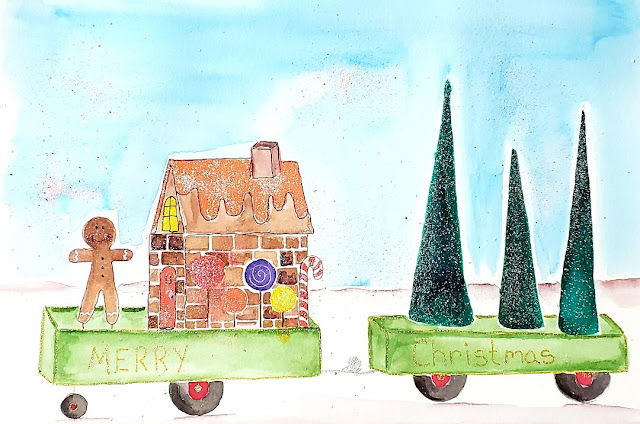
Holiday parade


 If you would like to see more, check back tomorrow!

Thanks for stopping by!


Friday, January 4, 2019

Snowflake Friends Card


Hi Friends,

I am back today with a Snowflake Stamped Card for Friends. It's January and it is time to let those friends of yours just how much they are loved. Or thank them for that fabulous gift they gave you for Christmas!


  Supplies needed:


You have all your supplies, let's start!


Step 1:

Rub or paint on Iridescents onto card stock 4 1/4" X 5 1/2". Let dry. 


Step 2:

Stamp Snowflake Frenzy Background Stamp onto card stock over Iridescents. Heat set.


Step 3:

This step is optional. Using a scissors or a distressing tool, distress edges.


Step 4:

Ink edge of card base with Ocean Breeze and heat set.


Step 5:

Adhere stamped distressed card stock to card base using pop dots. Print out digi sentiment and pop dot onto card. Add gems if desired.


Thanks for stopping by and for more uses of Ann Butler stamps follow her at Ann Butler Designs!
Thursday, December 6, 2018

Winter Stamped Wine Bag


Hi Friends!!!!

It has been a long time, a year in fact since I have posted. Far to long!!! I have a fun Winter stamped wine bag to share with you today!

Super easy, fast and inexpensive!


 Supplies needed:

Ready? 

This is so easy!

Step 1:

Using a ruler and a pencil, lightly mark your line. this gives you a line to follow while stamping 3 times.


Step 2:

Stamp first image, add embossing powder and heat with heat gun. Repeat twice leaving a 1/4"            gap between images. You now have three images.


Step 3:

Cut ribbon and string through bells and add to handle. Or use a cute ornament. 


Your bag is done and ready for giving!


This would make a Great New Year's Wine Bag also!

Thanks for stopping by and for more uses of Ann Butler stamps follow her at Ann Butler Designs!


Friday, November 24, 2017

A Mixed Media Collaboration

Hi friends, I have a fun collaboration for you today! As a member of Ann Butler's Design team we were given a chance to work with Rita Barakat products and Lisa Marie Jimenez products!

So excited to work with both of these great products and you will see why soon!


I choose to work on a 12" X 12" base. I started by covering the front of the board with a piece of card stock. I added this by applying Matte medium and letting it dry overnight. While it was drying I choose one of Rita's stencils from the  "So you say you can't draw" collection. 


I traced the stencil and connected the lines. 


I added some color using colored pencils and she was ready to be adhered to the base using matte medium. I let it dry overnight. Now it was time to play!


I just started to lay down colors using a damp brush and Ann Butler inks. I added some of Lisa Marie Jimenez Colorique to the mix and it was like a match made in heaven!


I had so much fun laying color down that her hair must have changed color at least five times!!!

I added inks over her face and gave her more definition and highlights. I love the combinations of Ann Butler inks and Lisa Marie Jimenez Colorique, they came together beautifully.

Just look at her face! Isn't she dreamy?


I added some modeling paste and added ink over the top. I colored the feathers with Ann's ink Limelight, Berry and Colorique Turquoise Mountain. The Colorique Poppy gave me a rusty feel that I loved and I can't wait to do more with it. With Rita's stencil it made this girl so easy to do! I used Colorique to add color to the little wooden hearts.

So I had a paint, paint, paint, squirrel moment!

I pulled out some buttons I use for mixed media and had to try the Colorique on them and LOOK!

I used the Verdigris and Poppy!


So I will be playing with this more!!!!

One last look...............


I hope you enjoyed my project and the new products that were introduced. I sure did! Make sure you head over to Rita's and Lisa's blog to see what they have come up with!

Ann Butler
Rita Barakat
Lisa Marie Jimenez

Thanks for stopping by!